
Description
Stop bird damage in its tracks. Protect your investment today.
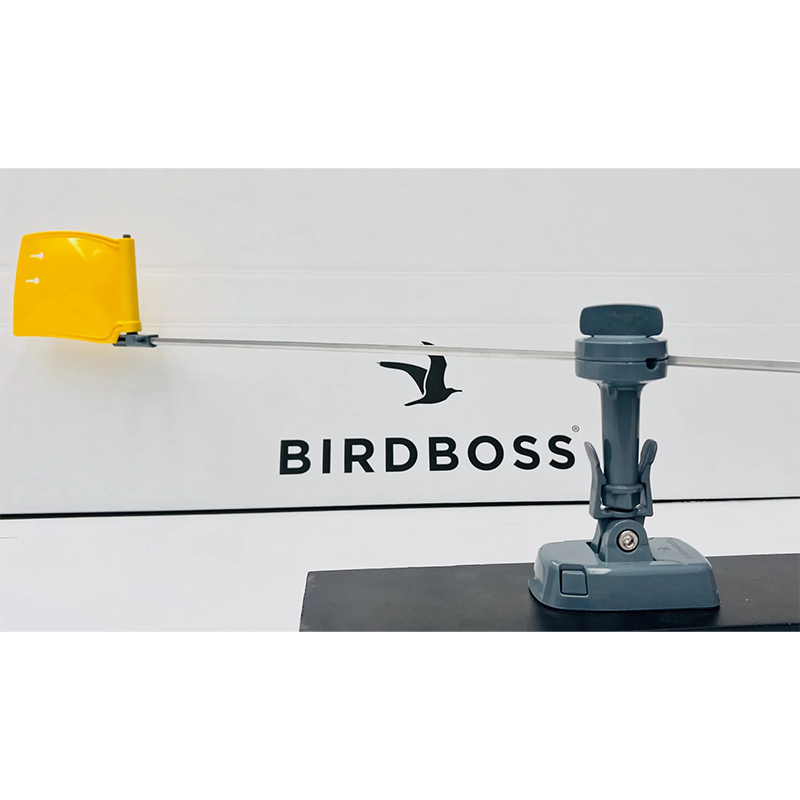
The Birdboss Base Kit is your all-in-one solution for effective, long-lasting bird control. Proudly engineered in Australia for maximum durability and flexibility, this kit adapts to your unique needs — whether you’re protecting a boat, dock, building, jetty, or rooftop.
Bundle Discounts
2 Kits for $240 (save $18)
3 Kits for $345 (save $42)
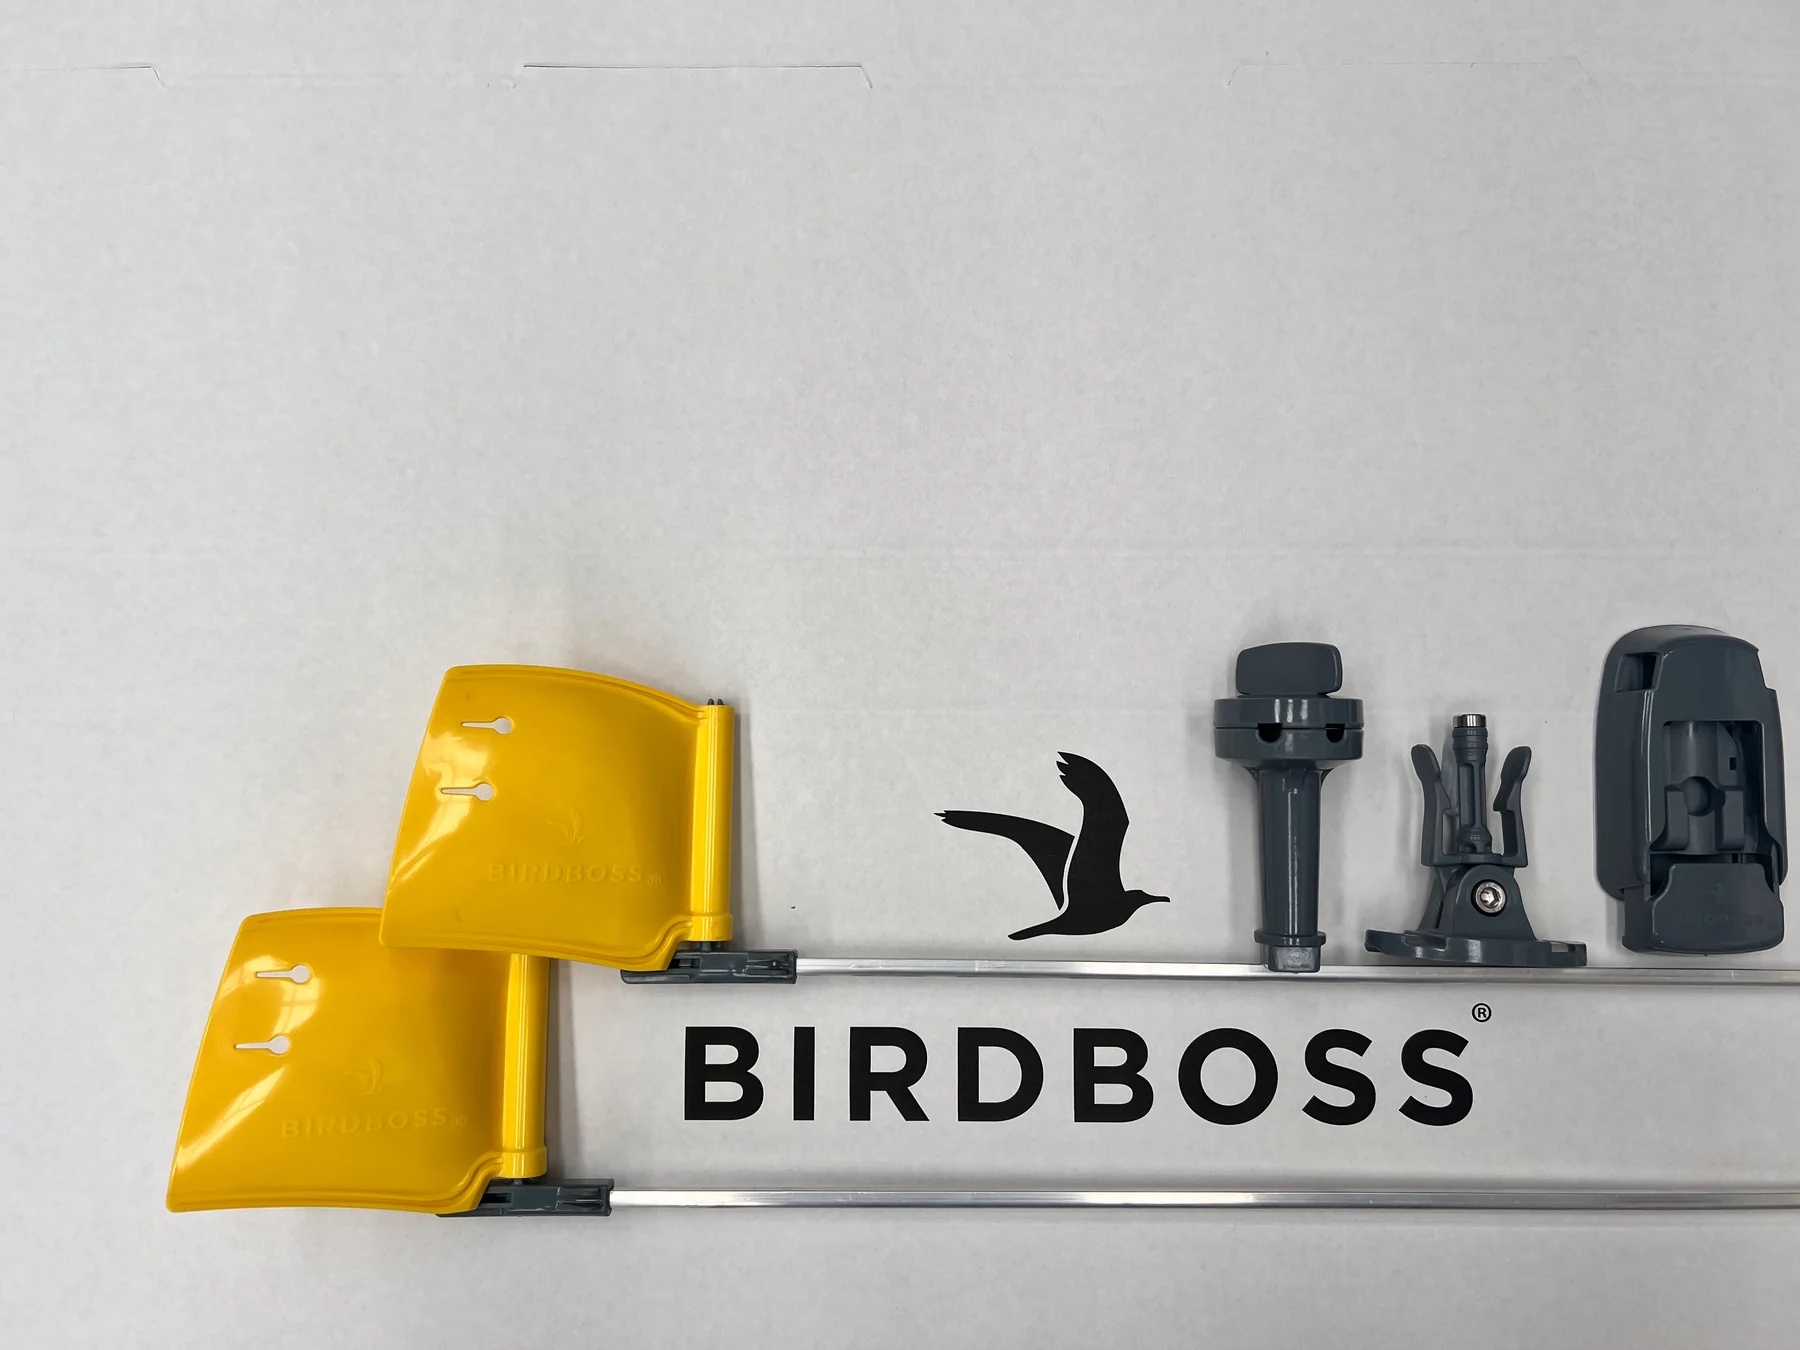
What’s Included in the Base Kit:
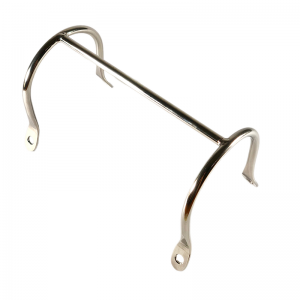
2 x Arms with Sail Pivots & Sails
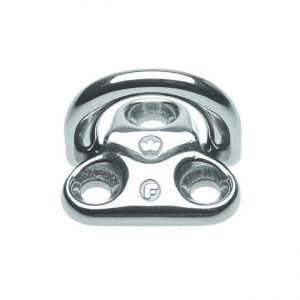
1 x Flush Mount Clip
1 x Pivot Base
1 x Pivot Post
1 x Pivot
1 x Pivot Cap & Cap Screw
1 x Rotation Lock Clip
Adjustable arms allow you to customise the length and shape — with a max diameter of 2000mm. Arms can be bent to clear obstructions with ease.
Why Choose Birdboss?
Adjustable arms for custom length and shape
Wind-driven rotation creates an effective visual deterrent
Quick installation & easy removal
Works with multiple mounting options (rail clamps, suction cups, flush mounts, disk mounts)
Optional coloured sails for personalisation
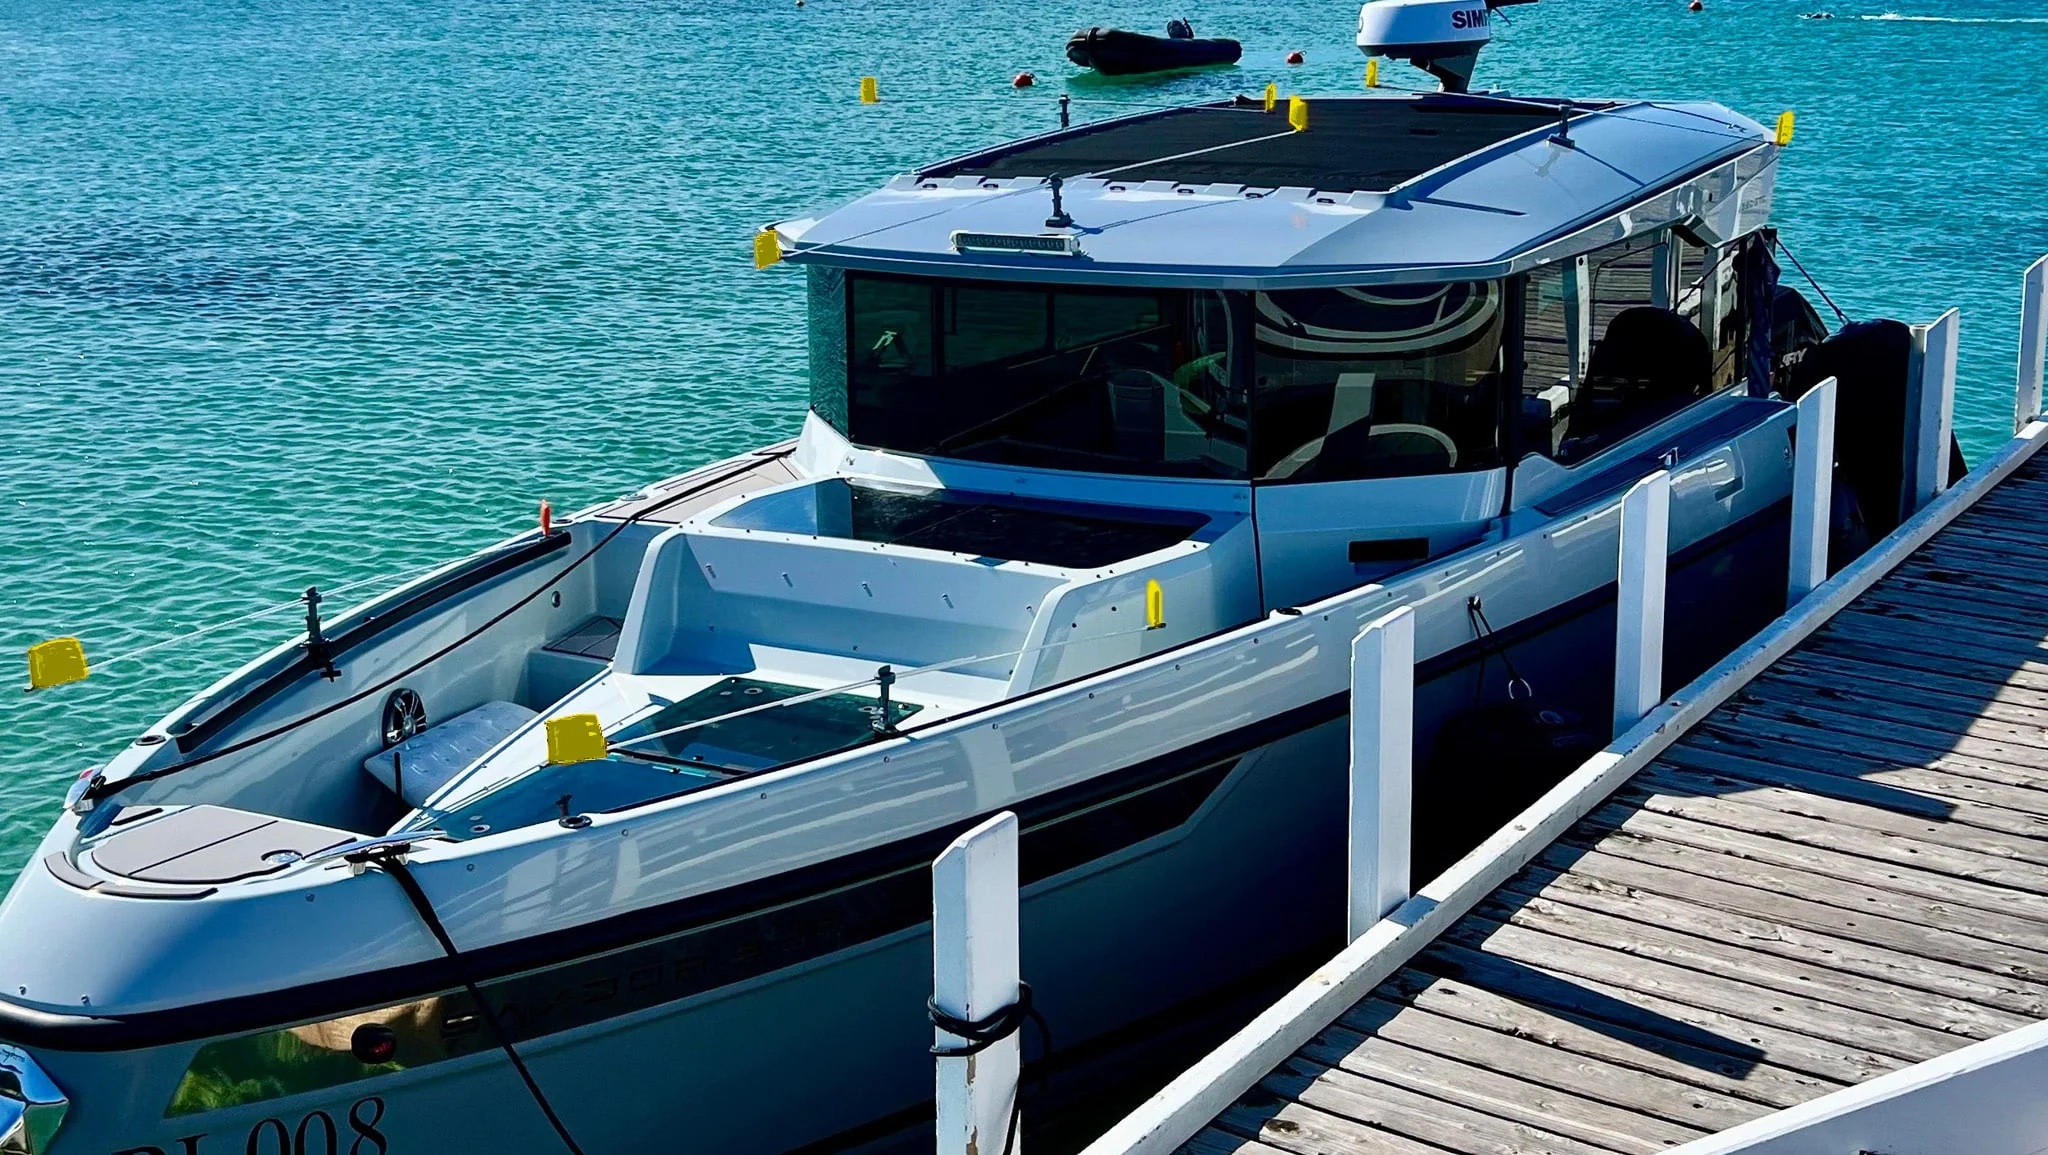
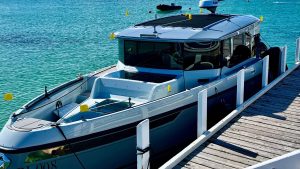
Perfect for boats, jetties, restaurants, rooftops, and commercial spaces — Birdboss keeps your property clean, stylish, and bird-free.
Order With Confidence
Backed by a 3-Year Warranty
100% Satisfaction Guarantee
– Stop cleaning up after birds.
– Protect your investment.
– Get Birdboss today.
BIRDBOSS FIXING & INSTALLATION GUIDE
Setting up your Birdboss is quick and straightforward when you have the right tools and follow the correct steps. This guide walks you through installation on wooden and fibreglass surfaces, as well as how to adjust the pivot post for optimal performance.
Tools & Materials Required
- Drill
- Countersink bit (for fibreglass installations)
- Masking tape (for fibreglass installations)
- Wax, varnish, or soap (for wooden installations)
- Sealant (optional)
Included Materials
- 2 x Stainless Steel Screws (316 Grade)
Installation Videos
Watch our step-by-step guides on how to correctly install and use your Birdboss system — including all mounting methods and maintenance tips.
Fixing Pivot Base
Fixing Flush Mount
Fixing Rail Clamp
Alternate Fixing
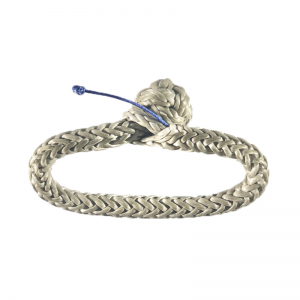
Filling Sandbag Mount
Putting on Sails
Follow these step-by-step instructions for secure installation of your Birdboss system on both wooden and fibreglass surfaces.
For Wooden Surfaces
- Preparation: Identify the exact location where the Birdboss will be mounted.
- Drill a Pilot Hole: Using a drill, make a pilot hole slightly smaller than the supplied screws.
- Lubricate the Screw: Apply a small amount of wax, varnish, or soap to the screw threads to ensure smooth installation and prevent wood splitting.
- Secure the Birdboss: Align the base with the pilot hole and screw it in securely. Ensure it’s level before tightening.
- Final Check: Avoid overtightening to prevent damage to the wood. Confirm the base is firmly attached.
For Fibreglass Surfaces
- Preparation: Apply masking tape over the installation area to prevent gel coat flaking.
- Mark and Drill a Pilot Hole: Drill a 3.5–4.0mm pilot hole at your marked point on the tape.
- Countersink the Hole: Slightly flare the hole using a countersink bit to avoid surface cracks.
- Apply Sealant (Optional): Use sealant on the screw for extra waterproofing and hold.
- Install the Birdboss: Position the base or flush mount and tighten the screws carefully — do not overtighten.
Adjusting the Pivot Post
- Post Installation: Ensure the pivot and arms are clear of all obstructions.
- Securing the Pivot Post: Once positioned correctly, tighten the post using an Allen key.
Final Check
- Confirm the Birdboss is stable and securely attached.
- Wipe away any excess sealant or lubricant.
Important Notes
- Do not overtighten screws on any surface — this may cause damage.
- Regularly check that the pivot post remains secure and well-adjusted.
- Remove Birdboss when under way or during extreme winds (over 40 knots).
Need help? Contact our support team for installation guidance or product assistance.
Congratulations on installing your Birdboss — enjoy effective and hassle-free bird protection!
Maintenance
Follow these care steps to prevent galling and galvanic corrosion between aluminium and stainless steel components in marine environments.
Rail Clamps – Aluminium & Stainless Steel
- 1) Clean Threads Thoroughly: Before assembly, ensure all threaded components are clean and free of salt, grit, or old lubricant.
- 2) Apply Anti-Seize / Anti-Corrosion Compound: Coat all threaded connections to prevent galling and galvanic corrosion.
- 3) Protect Exposed Surfaces: Apply a lanolin-based corrosion inhibitor to external faces for added moisture and salt protection.
- 4) Regular Inspection: After saltwater exposure or harsh weather, check for corrosion or wear and reapply products as needed.
Tip: Avoid copper-based anti-seize on aluminium + stainless combinations — it can accelerate galvanic corrosion.
Recommended Products
- Primary Anti-Seize: TEF-GEL® Anti-Seize & Corrosion Inhibitor — marine-grade, PTFE-based; isolates dissimilar metals, resists saltwater corrosion, and prevents thread seizure without drying out.
Alternatives (Nickel-based)
- Loctite LB 771 Nickel Anti-Seize (500 g)
- CRC Nickel Anti-Seize (75 ml)
- Devcon Stop Seize Nickel Anti-Seize (500 g)
Lanolin-Based Corrosion Inhibitors
- Lanotec Heavy Duty Liquid Lanolin (600 ml)
- WD-40 Specialist Rust Prevention Lanolin (300 g)
For best results: clean, apply TEF-GEL® on threads during assembly, then mist exposed surfaces with lanolin. Re-inspect periodically.